Freeswitch and Twilio outbound dance
Feb 7, 2016While setting up Twilio with Freeswitch for outbound calls using SIP protocol, there are couple of gotcha’s that I stumbled upon. This post will be a step-by-step process on how to hook up these two.
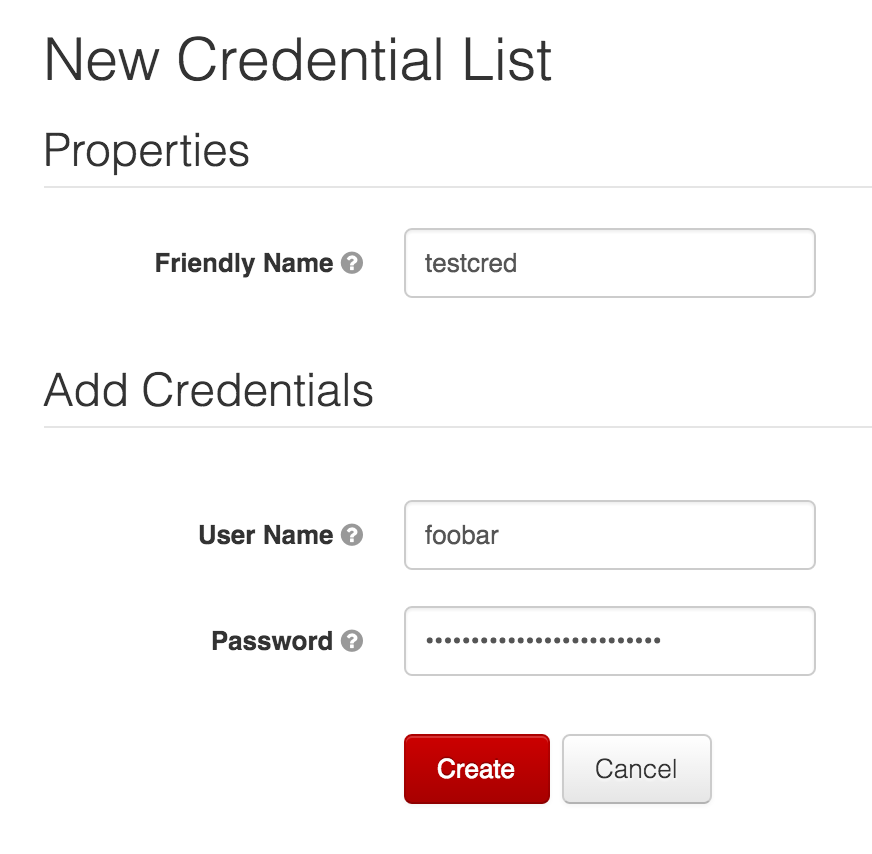
First when working Twilio you have two ways to authenticate from you client (Freewitch), first is via an IP ACL and second is using credentials (username/password). Once logged-in on Twilio, you can create credentials under Programmable voice (select from products dropdown) > SIP endpoints > Credential List. Go ahead and create your credential then give it a friendly name.
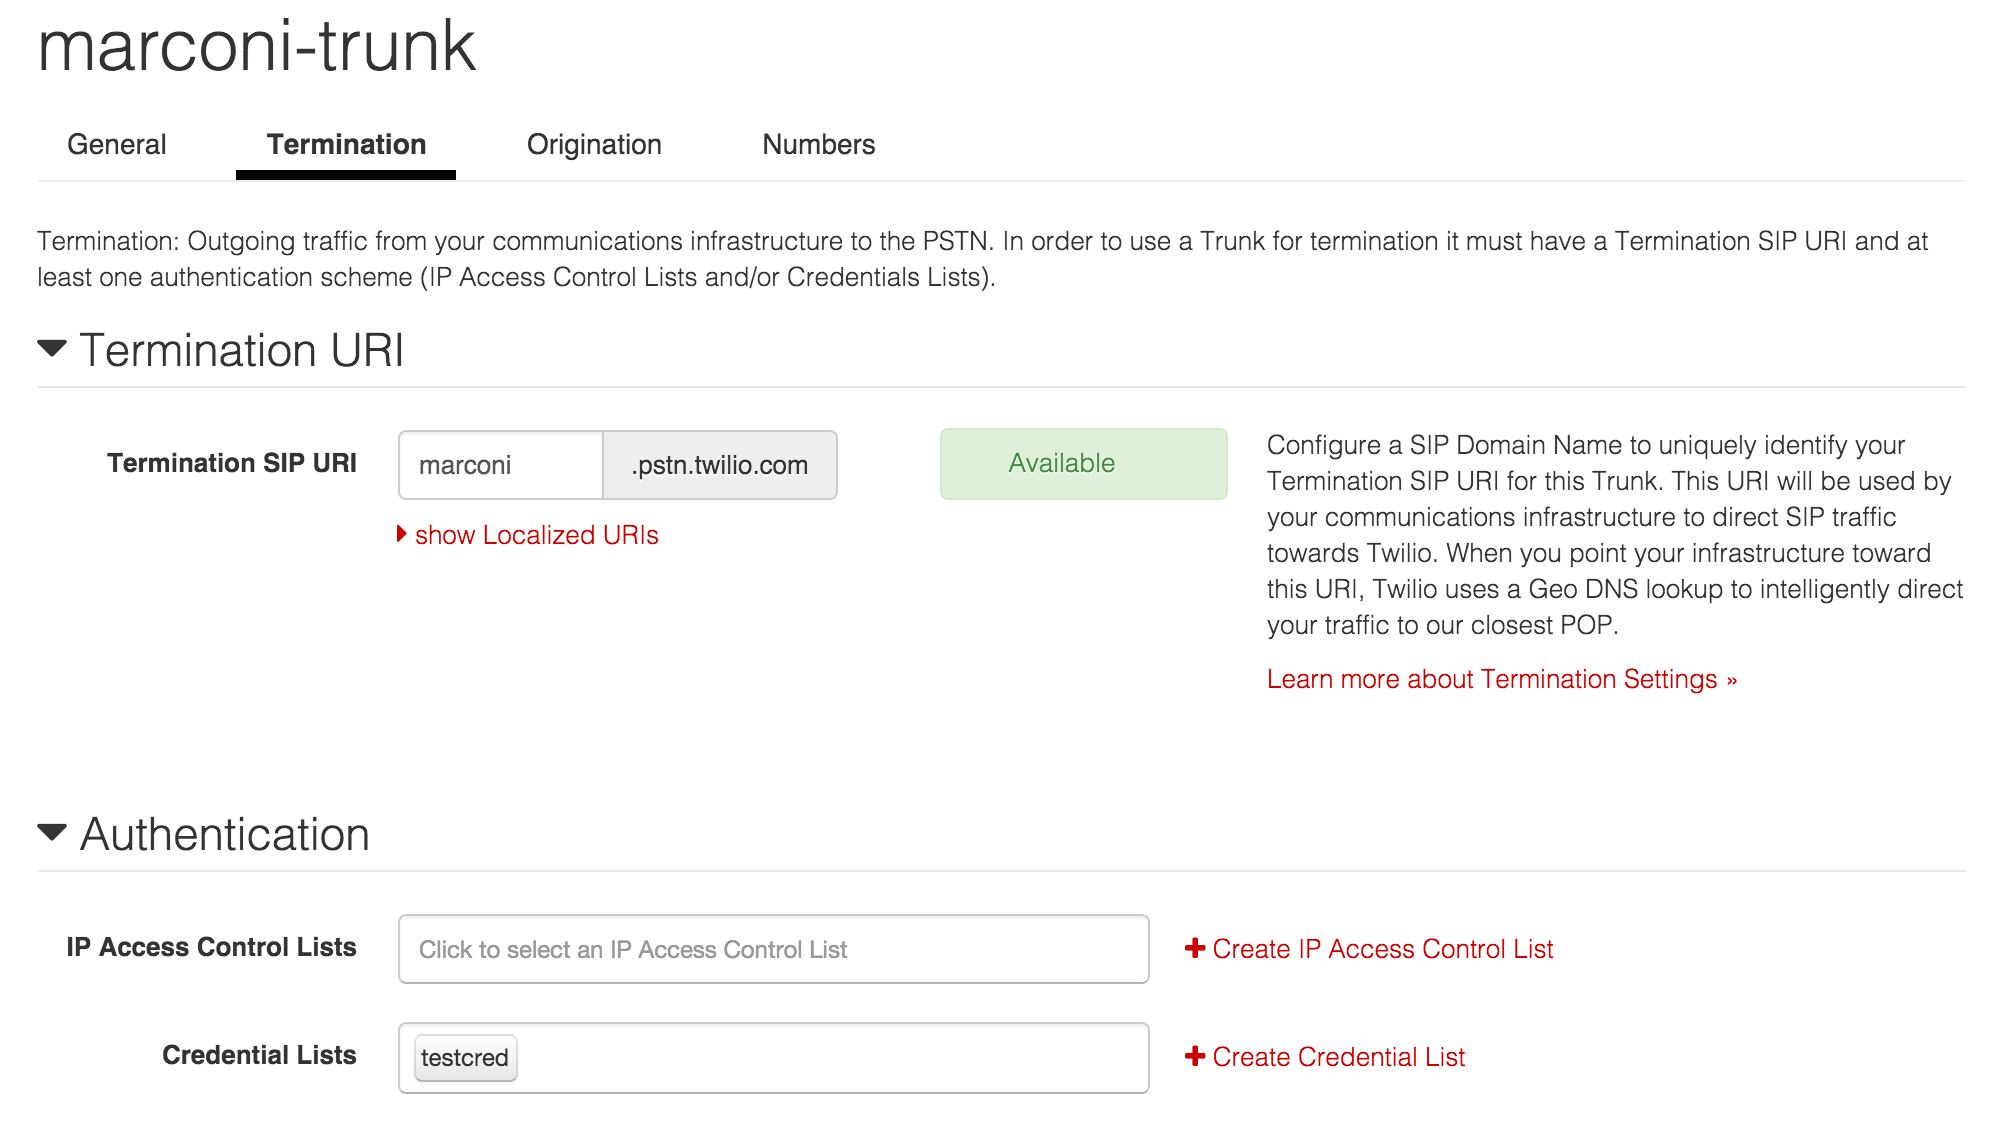
The next step is to create a SIP trunk, under products dropdrop select Elastic SIP trunking then go to trunks tab. From there click Create SIP trunk button and it’ll ask you for a name. Once your SIP trunk is created, go to Termination tab and specify a termination SIP URI like marconi.pstn.twilio.com. This URI is where our client will direct traffic to Twilio. Next under authentication section, ignore IP ACL and instead select the credential you just created earlier then save your settings.
Now we’re ready to configure Freeswitch, first add the following network list for Twilio’s IP addresses on autoload_configs/acl.conf.xml:
<configuration name="acl.conf" description="Network Lists">
    <network-lists>
        <list name="domains" default="deny">
            <node type="allow" cidr="54.172.60.0/23"/>
            <node type="allow" cidr="54.171.127.192/26"/>
            <node type="allow" cidr="54.65.63.192/26"/>
            <node type="allow" cidr="54.169.127.128/26"/>
            <node type="allow" cidr="54.252.254.64/26"/>
            <node type="allow" cidr="177.71.206.192/26"/>
        </list>
    </network-lists>
</configuration>
Then we need a Twilio external profile, add sip_profiles/external/twilio.xml:
<include>
	<gateway name="twilio">
		<param name="username" value="foobar"/>
		<param name="password" value="xxxxxxxxxxxxxxx" />
		<param name="realm" value="Twilio-outbound"/>
		<param name="proxy" value="marconi.pstn.twilio.com" />
		<param name="register" value="false"/>
		<param name="caller-id-in-from" value="true"/>
		<param name="codec-prefs" value="G711,PCMU"/>
		<param name="inbound-codec-negotiation" value="greedy"/>
		<param name="dtmf-type" value="rfc2833"/>
		<param name="liberal-dtmf" value="true"/>
	</gateway>
</include>
Couple of important things to note here, first is codec-prefs and inbound-codec-negotiation makes sure that G711,PCMU always gets used since Twilio only supports those. Then dtmf-type and liberal-dtmf ensures that when processing keypresses from within the call rfc2833 will be used which is what Twilio supports as well.
Finally the last piece is to ensure that phonenumbers has + prefix in them, you’ll get an invalid phonenumber error otherwise. So once those config is added, lets make sure Freesiwtch picks-up those changes, login to fs_cli and run:
freeswitch@internal> sofia profile external rescan reloadxml
Now you’re ready to send outbound calls via Twilio, you can try it with:
freeswitch@internal> originate {ignore_early_media=true}sofia/gateway/twilio/+<your-phone-number> +<your-phone-number>
And that’s it, your phone should ring and depending on your app, should play something. Note that not all countries are enabled by defaulby Twilio, you’ll need to send a request to them first and only then will you be able to call those numbers. You’ll notice this when the call fails since Twilio will return a descriptive error. You can check which countries are enable on your account by going to Account > GEO permissions.